New Blog

This is an out of date blog, for these posts and all current projects please head over to

I'm Topsy Turvy

for any interest in ordering cakes please head to

topsy turvy cakes
Showing posts with label 101 in 1001. Show all posts

March 10, 2010

Silhouette Canvas's #65- silhouette art of my kids

silhouette canvas finished hung
I've been looking for a fun Silhouette project for some time.  I have another idea, using an old window, but I don't have an old window.  Maybe next time...  But a few weeks ago I was at Michaels getting some supplies for my Mom's birthday present and I ran across 4 8x10 canvas's for quite cheap.  But what kind of medium to paint with?  I found some thick acrylic creating a textured paint.  Perfect!
silhouette photo
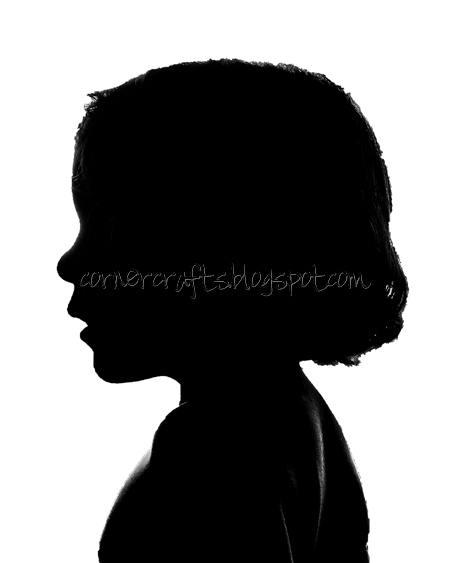
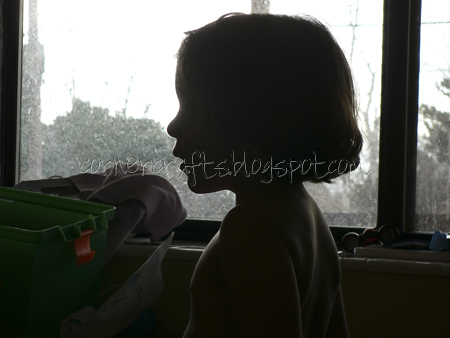
So this is how I started.  I took pictures of each kid in front of the window and bright sunshine (with no flash of course).  My third (a boy) was by FAR the most difficult to get a shot of.  But after 83 shots I ended up with 4 decent ones.  Then I used photoshop bridge to create this image:  (Here are my settings if you wanted to know:clarity: 100, vibrance: -100, saturation: -100, blacks: 100, exposure .35, tonal curve: point- strong contrast, sharping: 150, radius: 0, Detail: 0 and masking: 100).
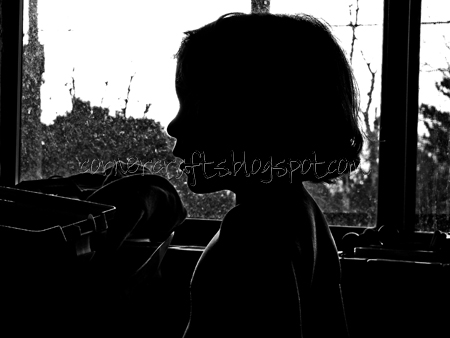
silhouette photo edited
Then I used Photoshop to cut what I did'nt need.  I used the quick selection tool to select everything but the silhouette.  Then I cropped each image to 8x10, trying to make them all as even and similar in size as possible.
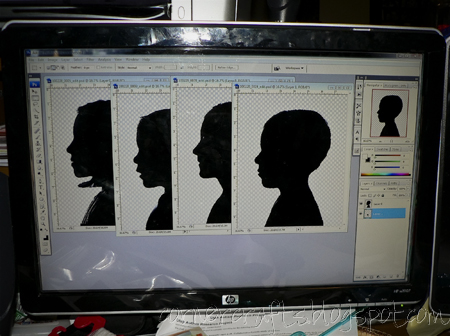
silhouette photoshop editing layout
Here is the final image I used.
silhouette canvas edited photoshop
I printed off this image and using my Xyron I turned it into a sticker.  I also took my pen and did a bit of "fixing".  I fixed the curls on her forehead that got lost in the editing, I also drew where I wanted to make the  bottom pretty.  And finally I added eyelashes, because let's face it silhouettes just don't look quite right without them.
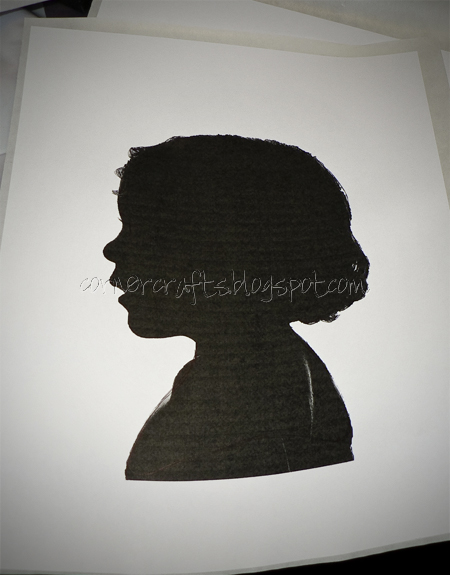
silhouette canvas picture
Then comes the cutting.  I found my small sharp craft scissors.  If only I had them for the Bathroom mirror project!  Remember which way to cut.  Since I wanted mine to be a stencil I didn't care what the inside looked liked.  So I started in the middle and cut away.  I was careful not to cut too much, you can always cut more if you need to.  If your cutting out a silhouette planning on USING the middle remember to start cutting on the outside.
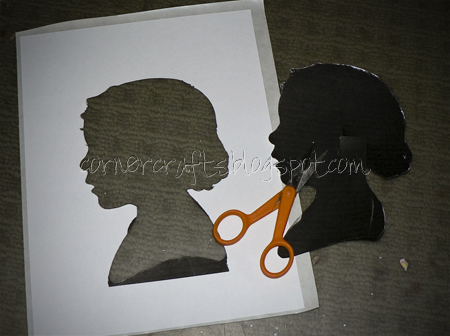
silhouette canvas cutting stencil
Once I was happy with the stencil I took my "sticker" of the backing and stuck it to the canvas.  I pressed along the edges, but not TOO hard because I didn't want to bend the canvas.  Mostly just using my nail and a bit of pressure, to create the best possible seal.
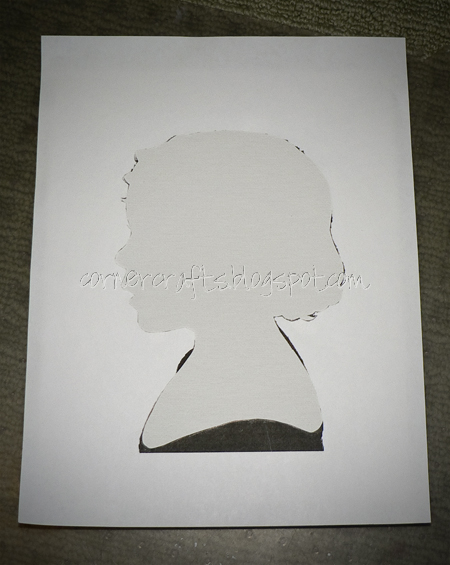
silhouette canvas cut out stuck stencil
Then I grabbed a brush and started painting!  Once the paper get's wet with the paint it starts to ripple, so start in the middle, getting it as thick as you want it, without touching the edges.  Then quickly brush the edges, working outside in, and peel off the stencil!  Be sure to peel from the top down, better to have the top details sharp and sometimes the last bit you peel off can be a bit messy.
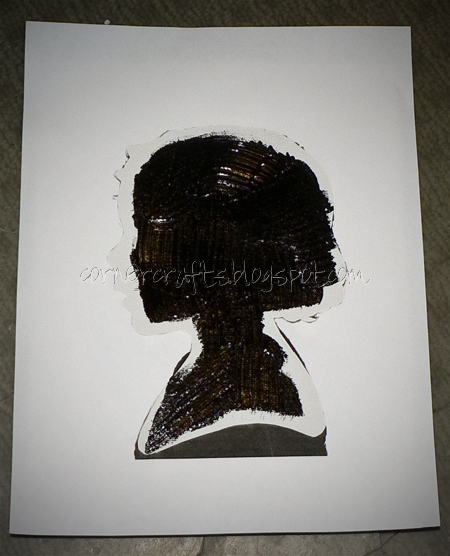
silhouette canvas painting stencil
I had a few spots where the paint spread a little past the crisp lines I wanted so with a smaller brush I fixed those and voila!  Finished!  Just the look I wanted!  Thick with brush strokes, glossy with nice sharp edges.
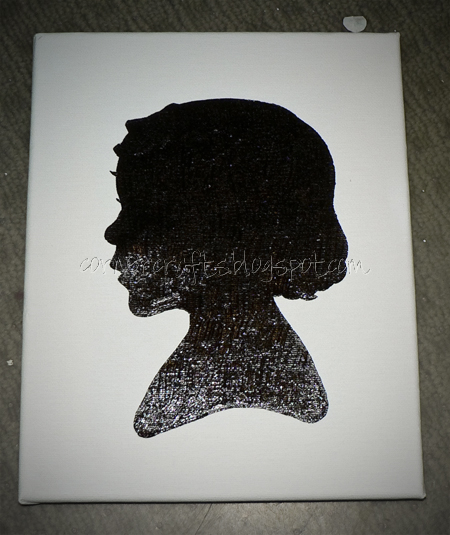
silhouette canvas painted stencil done
here are all four done, my children are girl (8 1/2), boy (7), boy (4 1/2), girl (2 1/2), which works out perfectly for this set up!
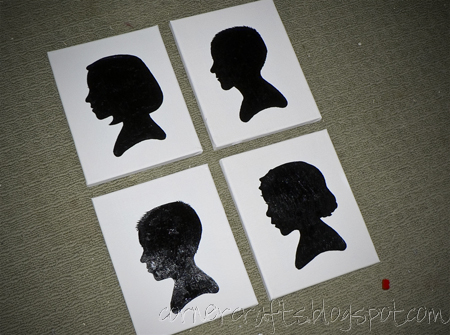
silhouette canvas finished layout
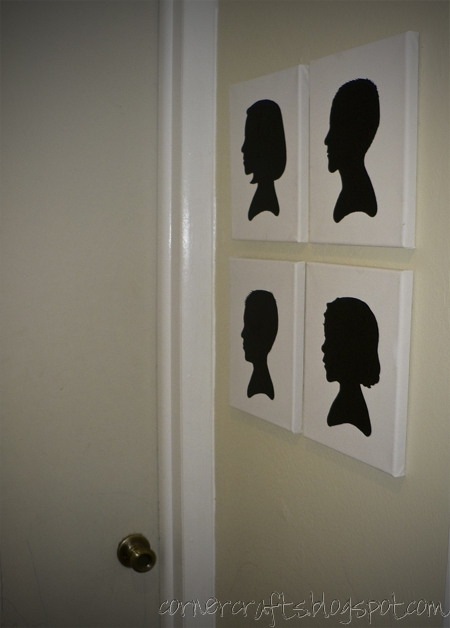
And finally hanging up.  this is in the narrow hall between the bedrooms and bathroom, so I couldn't get a much better angle than this shot, but it looks great.  I only wish the walls were a prettier color.  I think when we move out I'll end up re-carpeting and repainting the basement as a "thanks for letting us live here and ruin your walls and carpet" gift for my in-laws!  I should have just painted when we moved in, this sickly yellow is pretty difficult to look at day in and day out.   Although not as bad as the 4 wall wood paneling in our bedroom!!!  I'll have to get pictures of that room next time!
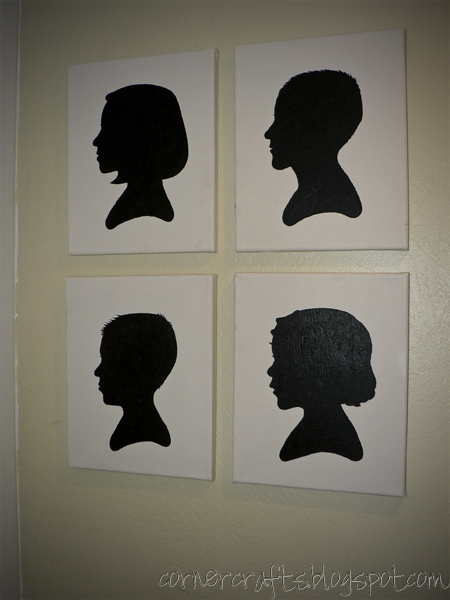
silhouette canvas finished hanging

March 7, 2010

First Quilt started! (#92)

So I brought down the extra table and moved around some stuff in my corner "craft room" to fit it in.  Then cleaned off my desk...  Of course within hours the new table was FULL.  After a few weeks I FINALLY got that cleaned off as well this weekend.  I unpacked my sewing machine, oiled it up and did a practice project.

I ordered my fabric and got to work. First I picked which colors would go where and and I also designed my layout.  I started my cutting the small squares and then the strips for the first squares.  
first quilt squares cut out
Started sewing...
first quilt starting squares cutting
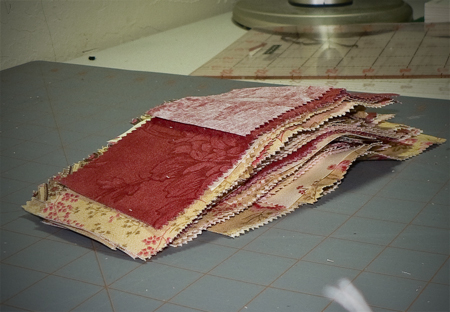
Yeah!  My first squares!  I made 58 of these!  I also made some of the longer rectangles before I ran out of the moda jelly roll I bought.  The original quilt design was for a lap quilt and I switched it up to a queen size for my bed, so I needed more fabric.
first quilt squares finished
Anyway, I pieced together what I could without those last 18 rectangles and here it is!!!  hopefully the Jelly roll will get here soon and I can finish up!  I'm so excited and really enjoying it so far.
first section done piecing quilt

March 1, 2010

Nuts for St Patrick's day! #69 Seasonal wreaths

I, like many others, saw this wreath that Dana made and fell in love with it.  Since most of us don't have access to so many and such pretty acorns all us fan's have used other nut's and items.  Here and here are some examples.  So I started looking around for what I might use.  I thought the beads were a great idea because you don't have to worry about them rotting.  But I couldn't find the same beads easily and I was at Costco and saw their huge bag of Almonds and thought it might work out well. 
almond wreath super glue project
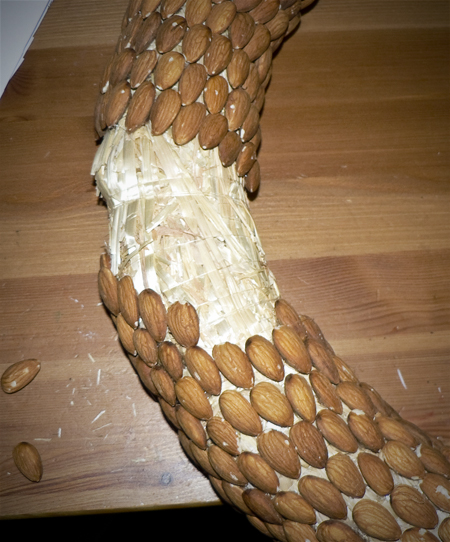
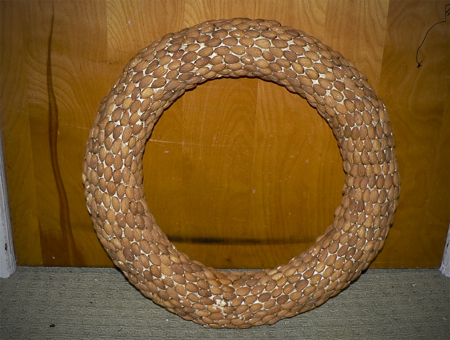
The wreath I found at DI for $1 so I was ready to go.  I went with 18 inch, even though it's too big for the doors here I want to make sure it's big enough for where ever we live next.  I set about hot gluing the almonds to the wreath!  I have a pretty cool hot glue gun so not burns, but at the same time they didn't stick as well.  I'm still nervous they'll fall off too easily.  When I put the wreath down to take a picture of it George, our micro mini pot bellied piglet, started eating on the bottom nuts!  I had to put him in his room to get the shot.
almond nut wreath finished
I knew I was going to go with a dark color to start off, and I could have just painted it right away, but I wanted to prime it first hoping it would help seal it a bit before starting.  So here it is primed (I think I'll do what Dana does and keep changing the color to match the season, so I'll use the primer again). 
almond nut wreath primer paint
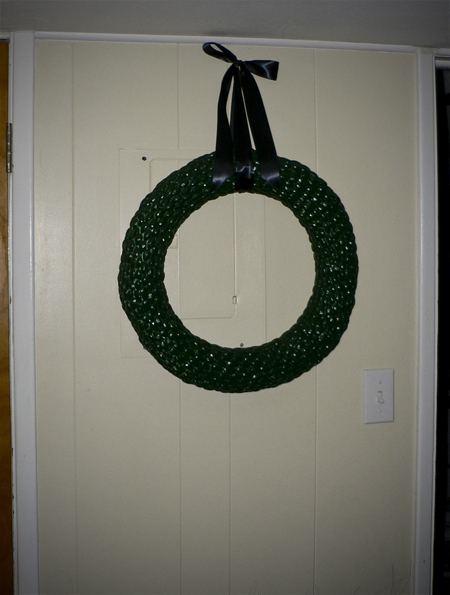
Finally I went with a dark green for St. Patrick's day!  I'm running out of space in our half of the basement and don't have a good door to place it on where it won't get hurt by the kids.  Plus with our low ceilings it hangs WAY too low.  So I put a nail up at the top of the wall (only a few inches higher than my head) and hung it there.  With the panel behind it's pretty ugly.  I'm still hoping to find a better spot for it.  If only I had a front door!!!
almond wreath painted st patricks day ribbon hanging finished

February 28, 2010

Frosted Glass Mirror! #71 "etch" some kind of glass

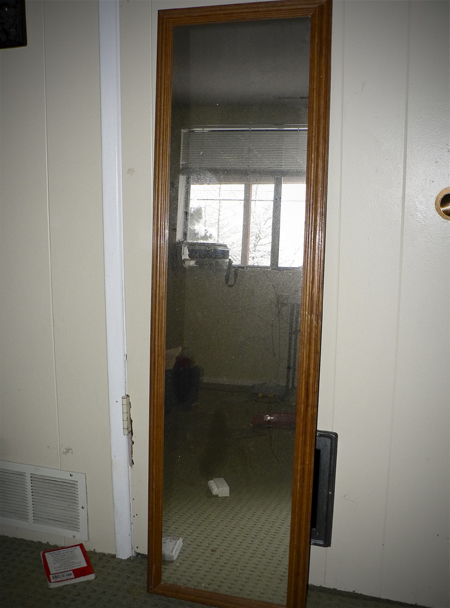
I was actually inspired by Roadkill Rescue at Infarrantly Creative.  I read her post and really wanted to win the prize, I thought what do I have that I got for free that I can re-make?  And I remembered this mirror that my sister in law was going to give to DI and my husband rescued thinking I'd like it.  I actually didn't get it done in time, I missed it by a day.  But maybe next time. 
old mirror roadkill rescue
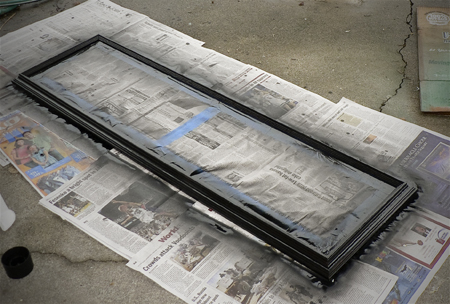
First I taped off the mirror and spray painted the frame black.  Then distressed it a bit.  I'd like to rub a dark gloss onto it, but don't have one available.  When I get some I'll go back and finish off the frame. 
old mirror paint
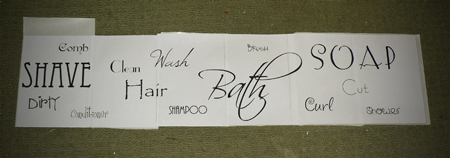
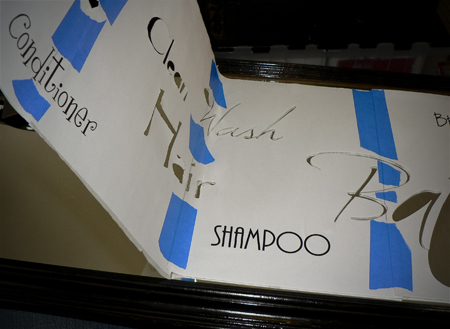
I don't have a vinyl cutter, or a Cricut, so I planned out the mirror words and printed them off on paper. I ran them through my Xyron machine to turn then into stickers and stuck them together.  I couldn't find my sharp craft scissors so I had to use normal ones.  I cut out all the large words, but without the super small and sharp ones that was the best I could do, still trying to get it done in one day. 
words bathroom mirror
I used bathroom related words and changed fonts and sizes for every word.  After cutting out what I could I took off the backing and stuck it to the mirror.  You can see the smaller words that didn't get cut out.  I'm hoping to go back and re print and cut out those words later.  I used bathroom related words and changed fonts and sizes for every word. 
words cut out sticker mirror stencil
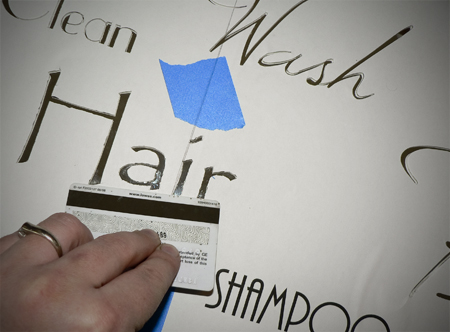
Then I pressed the sticker/paper to the mirror using a credit card, just like you would do with a vinyl stencil.  I didn't want any bubbles that the etching could get through and mess up the words. 
mirro stencil sticker cut out bathroom words
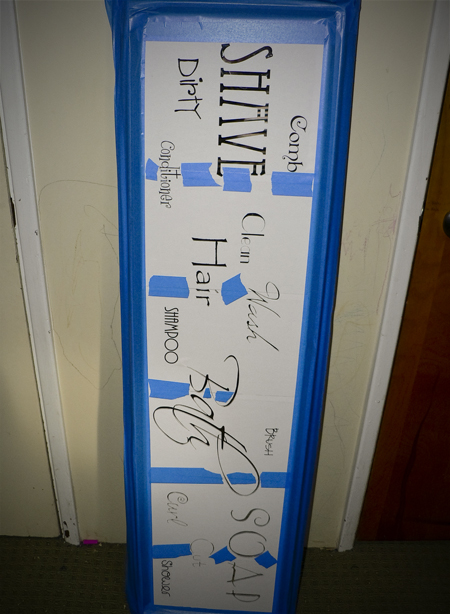
I taped off every part of the frame so the etching couldn't get through. 
mirror frame preperation
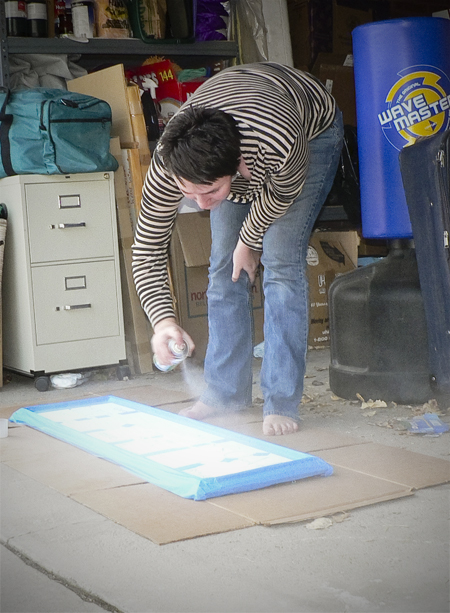
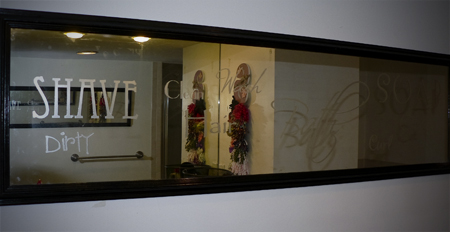
And instead of using etching cream I discovered and fell in love with this great new product.  Frosted Glass in a spray can!  Crazy easy, looks just like etched glass AND the best part if I don't like it later I can clean off the "frosted glass" and do something else!  I'm counting it as #71 because what I wanted from this goal was something that looked like this, not necessarily having to use the cream to get it.  Yup a rare picture of me.  Gotta love pictures taken by kids that you find on your camera later.  Like the new cut?  Not that you can see it.  I'll try to remember to take a new picture to update the sidebar one. 
frosted glass spray paint words mirror
It's a smallish basement bathroom so it's hard to get a good angle for a good picture.  You can't really see the writing, but I LOVE it!  It makes the room feel bigger having a mirror on both sides of the room.  And it's super fun having these bathroom mirrors. 
mirror bathroom words frosted glass finished


February 24, 2010

#1- Start an Etsy Store

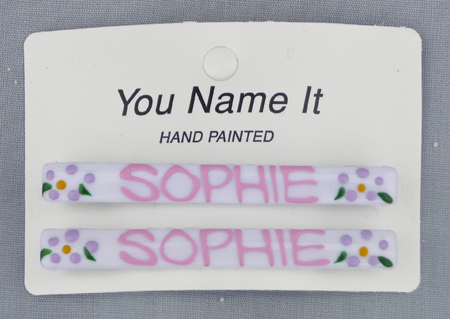
It's not big yet, only a few items, but it's started. Actually I've decided to start by becoming an online store for my families (first my parents and now my sisters) business. Let me tell you a little about it. 28 years ago, I was 4. My dad was selling vacuums and hated it. But a job is a job, especially when you have 2 young children. Anyway, my mom is an artist, truly an amazing artist. Also my parents gave me a unique name (well the spelling at least) and she wanted something personalized for me. So she bought a pair of plastic barrettes and painted my name on them. I had a LOT of hair. People saw them and liked them. When I got invited to birthday parties that is what she made for me to take to the birthday girl. My dad noticed this and thought; these could really sell and make a great business! He started the business with him selling and my mom doing all the painting. It worked and that was his job until he sold it to my sister and brother in law! We all worked their growing up, putting the barrettes on cards, and my sisters even became painters. 28 years later it's still a great business. So I've decided to throw my hat in the family ring.
bittersweet craft shop etsy
As time goes on I'm planning on adding other items to my store, but for now It's at least started. Feel free to comment and let me know if you have an idea or if you'd change something!
personalized girl hair barrett clip name hand painted

February 5, 2010

#80- The Moebius Scarf!

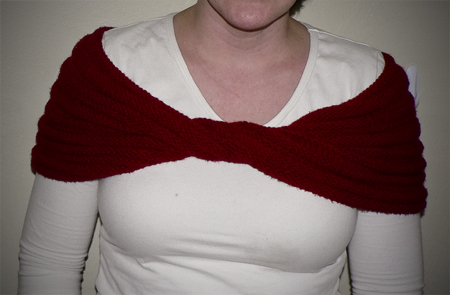
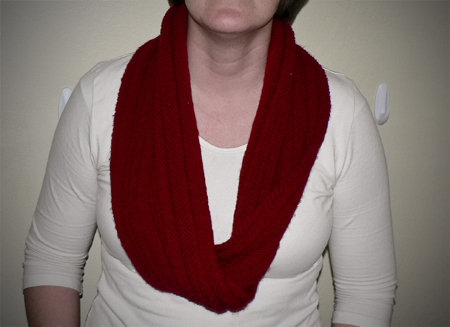
I finished my first knit piece.  I love checking things off my 101 in 1001 list!  I made it on circular needles which made it was hard to gauge the right length (since I could never fully stretch it out).  So I went a tad bigger, starting with 170 rather than 150, than a few of the patterns I read said.  I wish it was just a TAD bigger around the shoulders, maybe a full 200.  Also seeing it on I might just take out the last row and add a few more inches.  But I like the color and pattern.  Oh, and I apologize now for my modeling "skills".  I am having a TERRIBLE hair crisis right now...  To keep growing out?  Or to cut...  Maybe on a good hair day I'll post some pictures and let you help me pick.  But for now, tired eyes and bad hair just get cropped to focus on the real fun...
moebius finished scarf knit
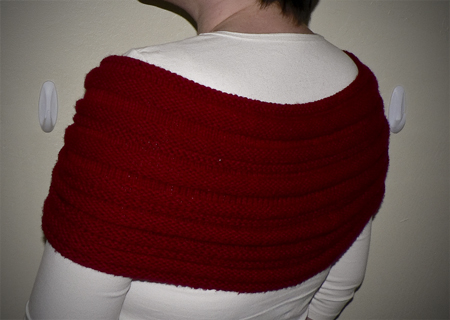
There weren't any patterns that I fell in love with out there, so I kind of made up my own.  I based it on "4 knit rows, 4 purl rows, repeat" pattern.  And while I love stripes that sounded too boring.  So I did 2 knit, 4 purl, 6 knit, 6 purl, 4 knit, 2 purl, repeat.  I did that 4 times.  I'm thinking one more time ought to do it.  But for now it's done. 
back moebius finished scarf stripes knit
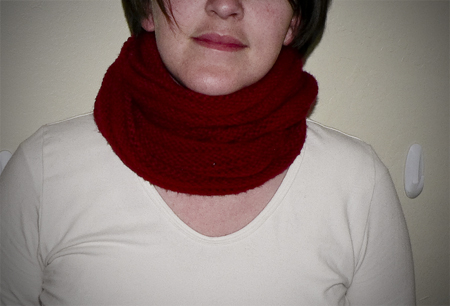
I still can't believe I did it.  My first knit piece!  I actually picked up a learn to knit book a few years ago, but it was SO not helpful.  But this time I started with a book that I thought did a great job teaching.  It was the "I taught myself knitting" from boye.  I'm so proud!  It's so fun learning a new craft.  There are so many new things I want to make!  I already have a sweater picked out for #81, but I'm going to do a few other small projects before I tackle that one.  Also I need to find the right yarn for a full sweater.  Any advice?  The Moebius scar can be worn around your shoulders, around your neck OR
moebius scarf finished knit
doubled up around your neck for especially cold days!I like all these ways.  I'm worried that with extra width I won't be able to do the neck versions, but it will make the shoulder version nicer.  Maybe I'll leave this one as is, and start longer for another version, and go super wide for that one.  I'll have to think about it. 
moebius scarf neck wrap knit

February 4, 2010

"She in Big Twa-bow"

In the words of my 4 year old boy, "P".  "S", my baby girl (2 1/2) got in BIG twa-bow (trouble) today.  I was painting a new project today.  It's TOTALLY NOT WORKING and is SO frustraing.  I painted 4 layers in the afternoon.  My kid totally left it alone, and were great about not touching it.  But even after, the 4 thin layers it still wasn't magnetic.  SO frustrating to spend money on something and have it not work.  I thought that maybe I painted the first layers too thin so I decided to add a few more thin layers.  I'm worried if it will work or not and if I wasted half a can of magnetic paint for nothing!  Any advice out there?   HELP!!!

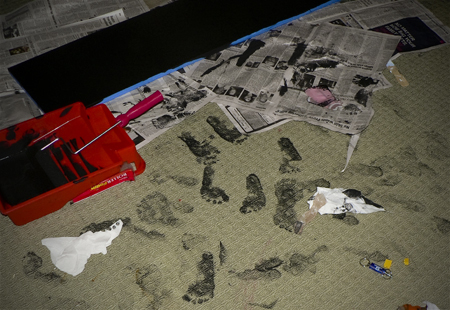
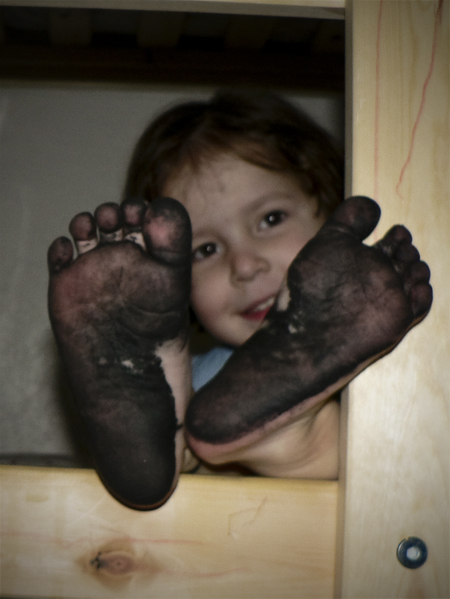
Anyway, I painted the fifth layer and went to put some supplies in the sink.  I came back around the corner and found this:
s magnetic paint footprints
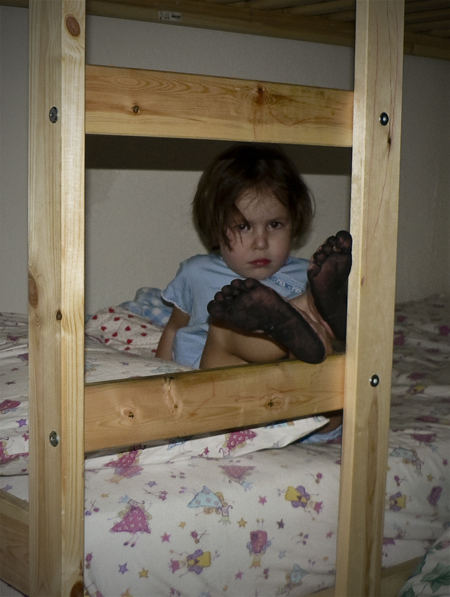
Finding the culprit was easy.  She hid in her room, but I just followed the clues. See that face?  She KNOW'S she's in trouble so she's already getting mad at me for the punishment that she knows is coming.   
S in trouble
Of course me taking her picture always perks her up!  Maybe she thought she got out of it.  But no-way Jose!  Now I have to go help my sweet hubby clean the floor!
S walked in paint

February 1, 2010

#68 a picture frame dry erase calendar

Yeah!  First goal completed only 100 left!  I'm new to blogging my crafts and I completely forgot to take a picture of the frame and picture before I started!  You'd think after blogging for almost 3 years now I would be better prepared! 
white board calendar picture frame glass
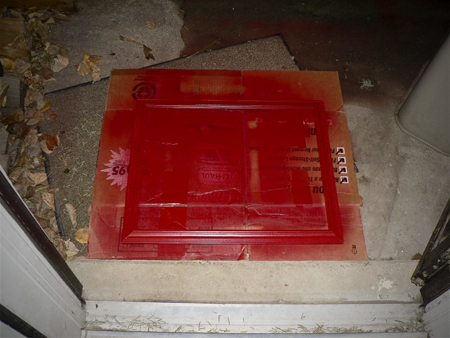
Anyway I saw this idea and fell in love, Here and Here.  They both have great tutorial's, I didn't take enough pictures.  I'll do better next time.  Anyway we're in my mother in law's basement without a lot of room.  So I decided on a 16x20 frame.  I found this awful yellow one at Thrift Town for $2.  First I spray painted it Crimson red.
spray paint picture frame red
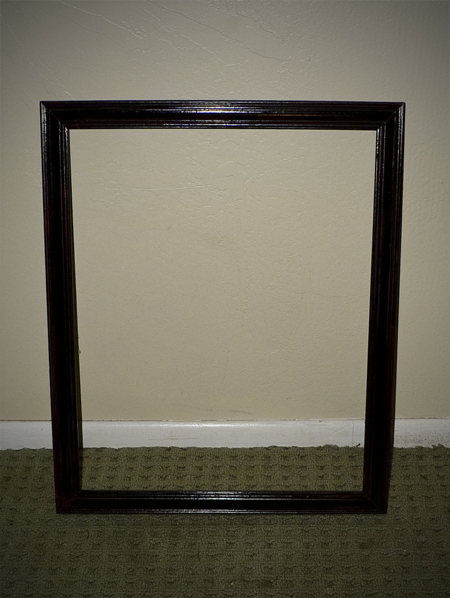
Then I sprayed over it with Semi Gloss Black, while it was still wet I took a cloth and lightly wiped over the top.  The places where it was rubbed the red showed through.  It matches the other frames in the room very well now.  I was really pleased with how well it turned out actually.
spray paint picture frame black red
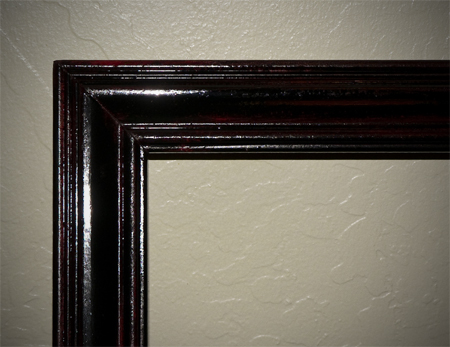
It's so hard to get a picture of the details, especially with the glossy finish.  But here is the best close up I was able to get.  It's a nice subtle look and I love it!
spray paint picture frame calendar dry erase
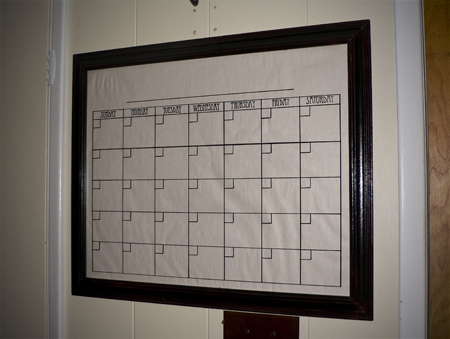
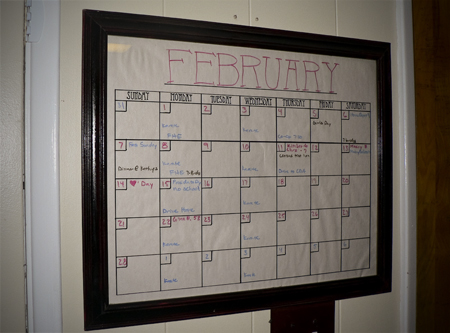
Then Following the directions from the other blogs I drew the calender and days of the week on the inside of the frame with permanent marker.  When I went looking through my fabric box I couldn't find anything light enough for the back of the frame.  Apparently I like dark colors, so I'll have to keep any eye on the sale and scrap items at the fabric stores.  But for now I used some tan craft paper.  It's a bit wrinkled but it will do for now.  So next just fill in and enjoy!  I put it right by the door that leads upstairs so we can all see it and add to it anytime we leave the safety of our basement.
picture frame white board calendar

I linked this post to Make your Monday's here.