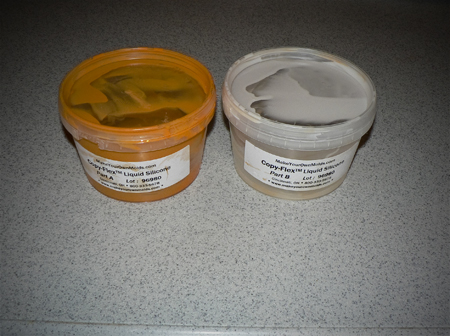
Next take these, I got my food grade silicone here, I used the copy flex so I could pour it into my lego's. I think I'll order some of the silicone plastique for my cake decorating. It was just SO much fun!. So you mix equal parts of the two together.
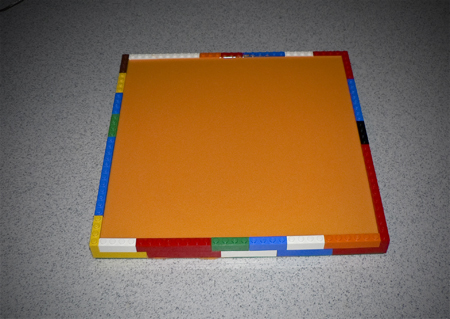
And pour it in. I ended up using 2 full pounds to fill in my huge board! It says it only takes 4 hours to cure, but it was still tacky on the back, so I just left it overnight!
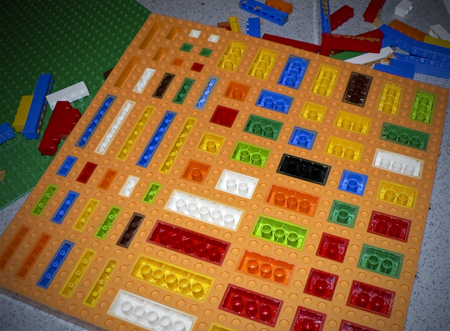
Then peel off the silicone and there you go. The Lego's that remained in the mold popped RIGHT out. I let my 2 year old and 4 year old help with that part. They loved it, and I have to say I did too, there is something SO fun about peeling the Lego's out of this thing. Since the plastic is food grade there is SO many things you can do with it. Watch over the next few entries as I talk about all the different things I made using my new mold!